copy 11")

When you’re building a Product Set, especially one that pulls from multiple merchants or networks, you may search for something simple, like a coffee maker, and your results could include bundles, replacement parts, and random accessories.
That’s where price filters come in. Setting a clear price range can help keep your Product Set focused on the core products you actually want to show.
Let’s say you’re building a Product Set for mid-range coffee machines. You might use a keyword like “coffee maker” or even filter by brand. Without a price range set, your results could look like this:
- A single-cup travel brewer for $19
- A refill pack of water filters for $14
- A bundle with mugs and beans for $199
- A refurbished model for $79
- And a handful of actual coffee makers between $99 and $149
How to Use Price Filters
When creating or editing your Product Set, add a range using the Final Price field.
If most of the products you want fall between $100 and $150, your filters might look like:
- Final Price is between 90 and 160
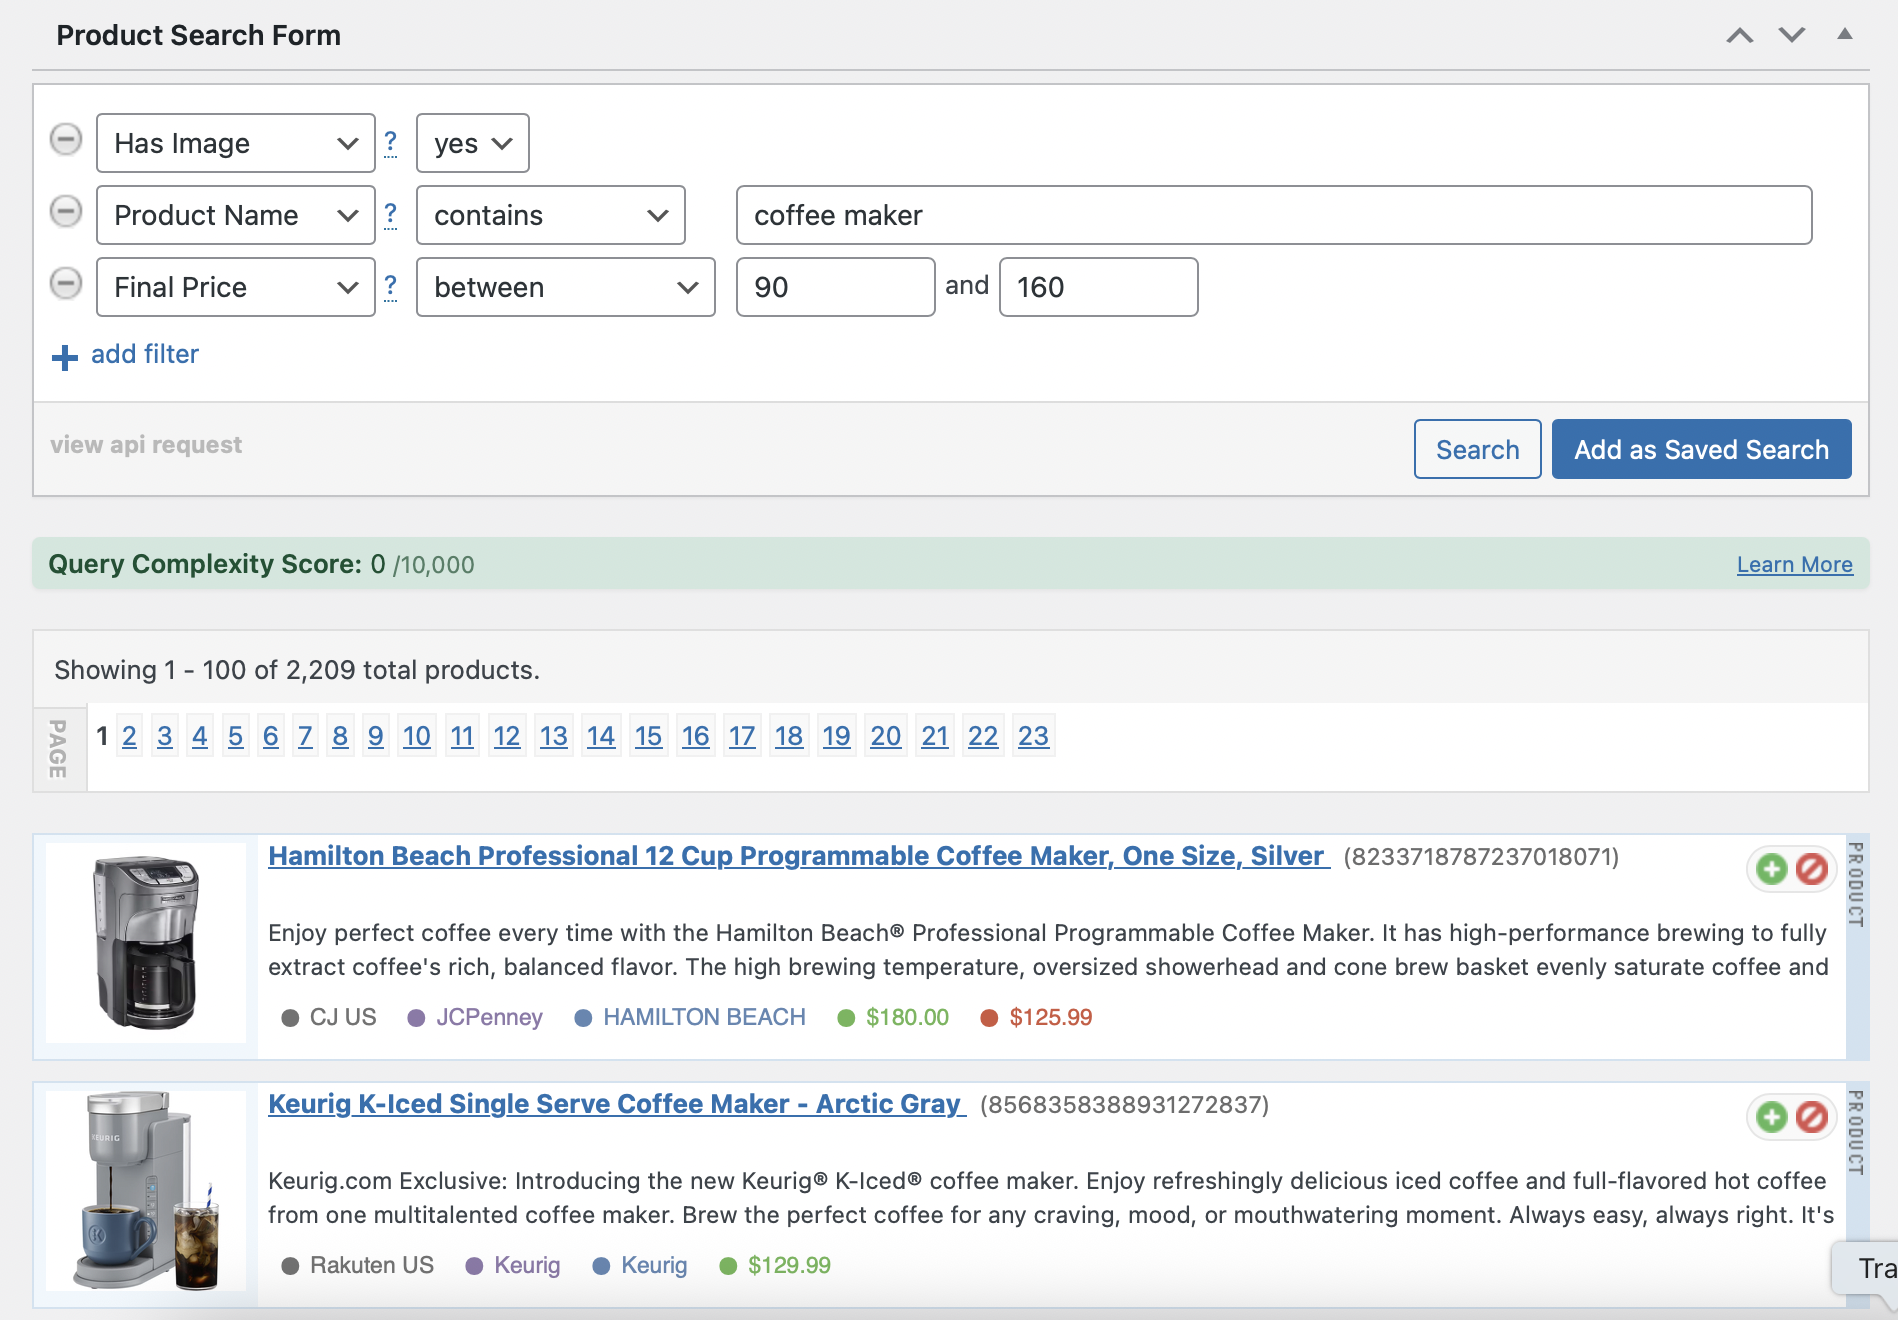
This gives you a buffer for sales or slight price differences while excluding items that are clearly not the main product.
You can also filter by:
- Regular Price (the original or list price)
- Sale Price (if you want to focus only on discounted items)
To decide which price filter to use, you can start by checking a few merchants manually. If you see that most of the real products fall between $120 and $150, that gives you a solid starting point. From there, you can adjust up or down based on what shows up in your Product Set.
To take it a step further, opt to exclude any other outlines with keywords like:
- “refill”
- “accessory”
- “bundle”
- “pack of”
- “refurbished”
- “replacement”
That way, even if something falls within your price range, it won’t get through unless it matches your actual intent.
To learn more, visit https://datafeedrapi.helpscoutdocs.com/.