There are lots of fun things you can do to WooCommerce [Buy Now] and [Add to Cart] buttons.
Here I’ll show you a few ways you can customize WooCommerce buttons which appear in The Loop (Shop Frontpage, Shop Category pages, etc…). You can add the code snippets below to a Custom Plugin.
If you don’t want to write any custom code, you can try these plugins:
- WooCommerce Colors plugin – Change your WooCommerce button colors
- Customize WooCommerce Button Text plugin – Change your WooCommerce button text
First, let’s see how buttons look like be default. Here is a screenshot of 3 products on a category page. All 3 of these products are External (or Affiliate) products so they display a greyed out [Buy Now] button.
Default Button Display in WooCommerce Loop
This is how WooCommerce product buttons look by default.
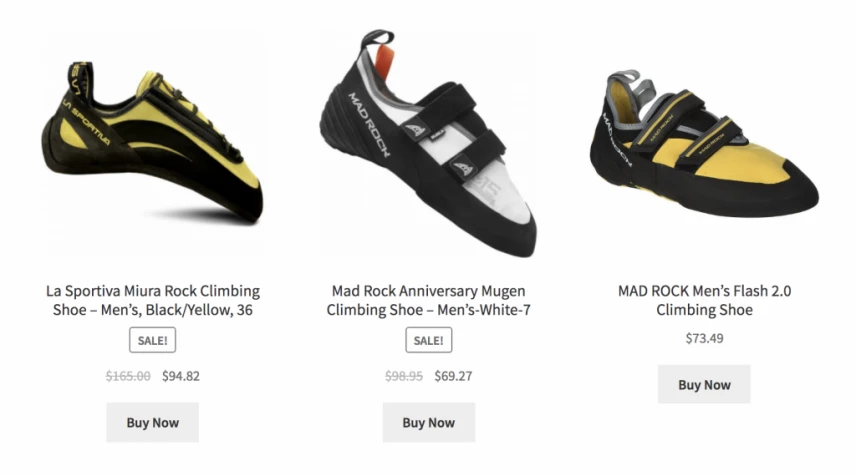
Default button display for affiliate products in WooCommerce.
Add Highlighting to Buttons for Products On Sale
This one will format the WooCommerce buttons by highlighting the buttons for products which are on sale.
Here’s what that would look like:
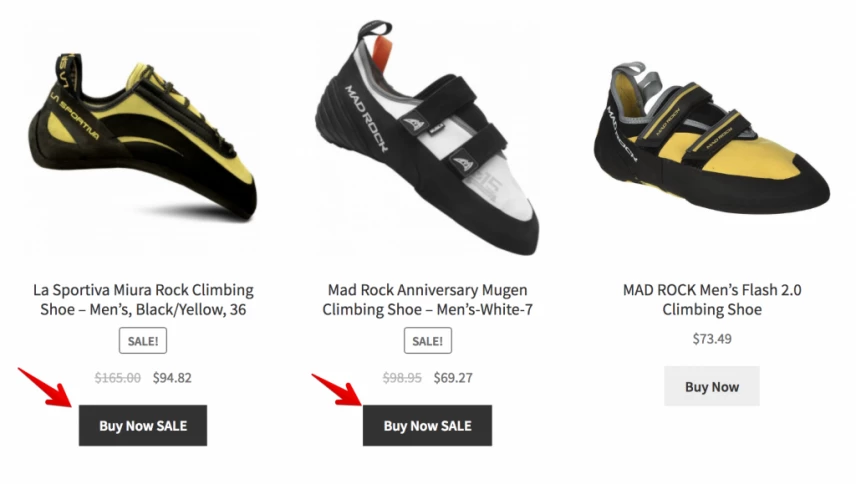
Highlighted buttons for products which are on sale in WooCommerce.
add_filter( 'woocommerce_loop_add_to_cart_link', function ( $html, $product, $args ) {

	if ( ! $product->is_on_sale() ) {
		return $html;
	}

	$extra_class = ' alt';
	$extra_text  = ' SALE';

	$url        = $product->add_to_cart_url();
	$quantity   = $args['quantity'] ?? 1;
	$class      = isset( $args['class'] ) ? $args['class'] . $extra_class : 'button' . $extra_class;
	$attributes = isset( $args['attributes'] ) ? wc_implode_html_attributes( $args['attributes'] ) : '';
	$text       = $product->add_to_cart_text() . $extra_text;

	$format = '<a href="%1$s" data-quantity="%2$s" class="%3$s" %4$s>%5$s</a>';

	return sprintf(
		$format,
		esc_url( $url ),
		esc_attr( $quantity ),
		esc_attr( $class ),
		$attributes,
		esc_html( $text )
	);
}, 20, 3 );
Remove Buy/Add Buttons
In some cases you may want to remove the buttons altogether. This might be useful for the next few code snippets.
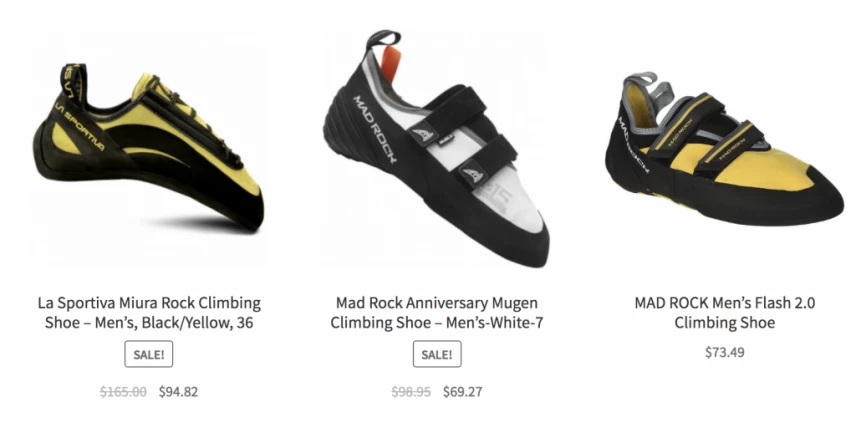
Buttons removed from products in WooCommerce.
add_action( 'init', function () {
	remove_action(
		'woocommerce_after_shop_loop_item',
		'woocommerce_template_loop_add_to_cart'
	);
} );
Add [More Details] Button Linking to Single Product Page
Now that the Buy/Add button is gone, we can add some other buttons to The Loop.
Here we will add a [More Details] button which links to the single product page.
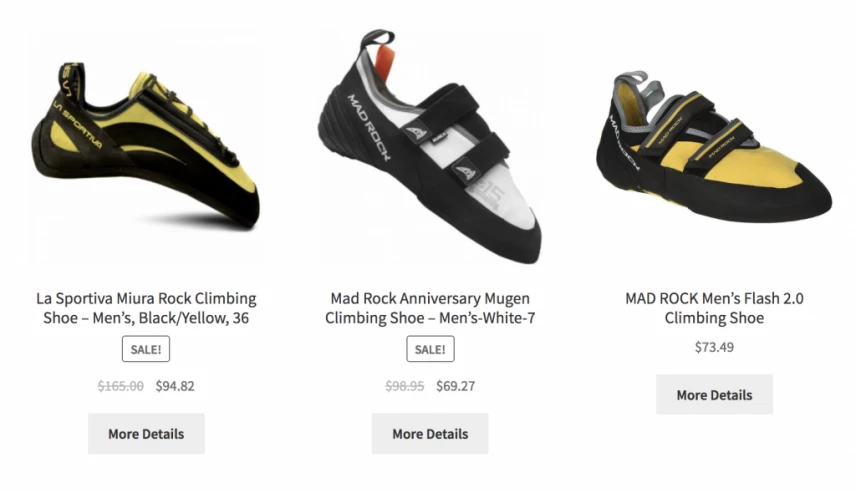
Add a more details button which links to the single product page.
While it’s not that exciting, we will build on this in the following examples. But if you like this, here’s the code:
add_action( 'init', function () {
	add_action(
		'woocommerce_after_shop_loop_item',
		'mycode_display_more_details_button_to_single'
	);
} );

function mycode_display_more_details_button_to_single() {

	global $product;

	$url   = $product->get_permalink();
	$text  = __( 'More Details', 'mycode' );
	$title = sprintf( __( 'View more details about %s', 'mycode' ), $product->get_name() );
	$class = sprintf( 'button add_to_cart_button product_type_%s', $product->get_type() );

	$format = '<a href="%1$s" title="%2$s" class="%3$s">%4$s</a>';

	printf( $format, esc_url( $url ), esc_attr( $title ), esc_attr( $class ), esc_html( $text ) );
}
Link Directly to External/Affiliate Site from [More Details] Button
The one is strictly for External/Affiliate products. This adds a new [More Details] button which links directly to the external/affiliate website instead of your single product page.
This looks very similar to the default functionality of WooCommerce.
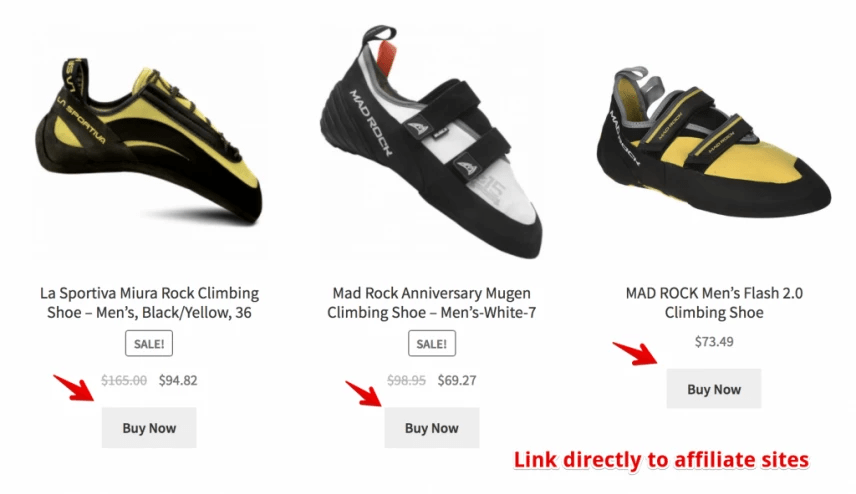
Force the buy button to link directly to the affiliate’s website.
And here’s the custom code:
add_action( 'init', function () {
	add_action(
		'woocommerce_after_shop_loop_item',
		'mycode_display_more_details_button_to_external'
	);
} );

function mycode_display_more_details_button_to_external() {

	global $product;

	if ( 'external' !== $product->get_type() ) {
		return;
	}

	$url   = $product->get_product_url();
	$text  = __( 'Buy Now', 'mycode' );
	$title = sprintf( __( 'View more details about %s', 'mycode' ), $product->get_name() );
	$class = sprintf( 'button add_to_cart_button product_type_%s', $product->get_type() );

	$format = '<a href="%1$s" title="%2$s" class="%3$s" target="_blank">%4$s</a>';

	printf( $format, esc_url( $url ), esc_attr( $title ), esc_attr( $class ), esc_html( $text ) );
}
Add Price to Button
Here we will add the product’s price (regular or sale price) to the button. This helps prices stand out a bit more.
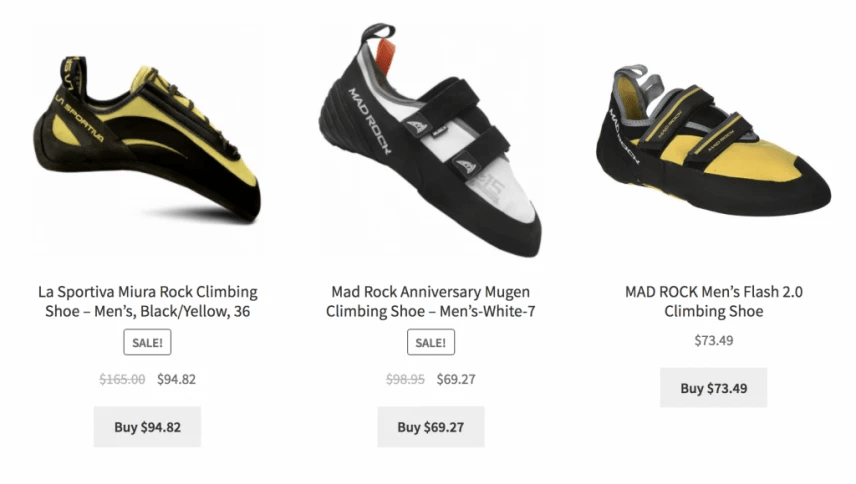
Add the product price to the buy button.
Here’s the custom code for that:
add_action( 'init', function () {
	add_action(
		'woocommerce_after_shop_loop_item',
		'mycode_display_more_details_button_to_external_with_price'
	);
} );

function mycode_display_more_details_button_to_external_with_price() {

	global $product;

	if ( 'external' !== $product->get_type() ) {
		return;
	}

	$url   = $product->get_product_url();
	$price = wc_price( $product->get_price() );
	$text  = sprintf( __( 'Buy %s', 'mycode' ), $price );
	$title = sprintf( __( 'Buy %s', 'mycode' ), $product->get_name() );
	$class = sprintf( 'button add_to_cart_button product_type_%s', $product->get_type() );

	$format = '<a href="%1$s" title="%2$s" class="%3$s" target="_blank">%4$s</a>';

	printf( $format, esc_url( $url ), esc_attr( $title ), esc_attr( $class ), $text );
}
Add Merchant’s Name to Button
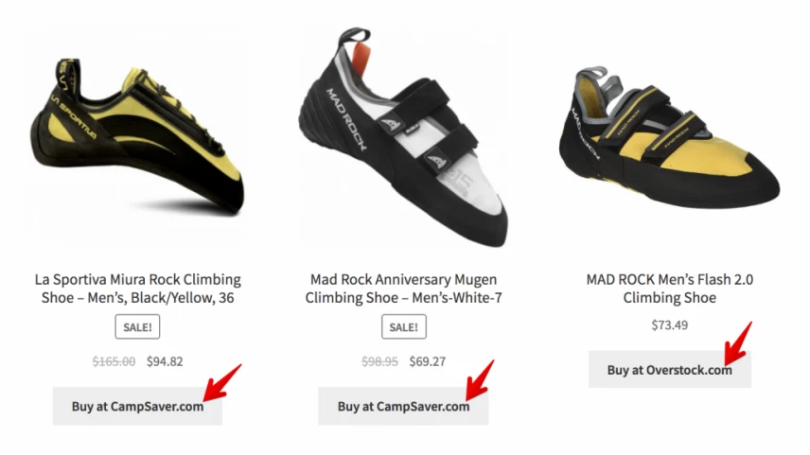
Here’s another one that works well for External/Affiliate products. We can also add the merchant’s name to the button.
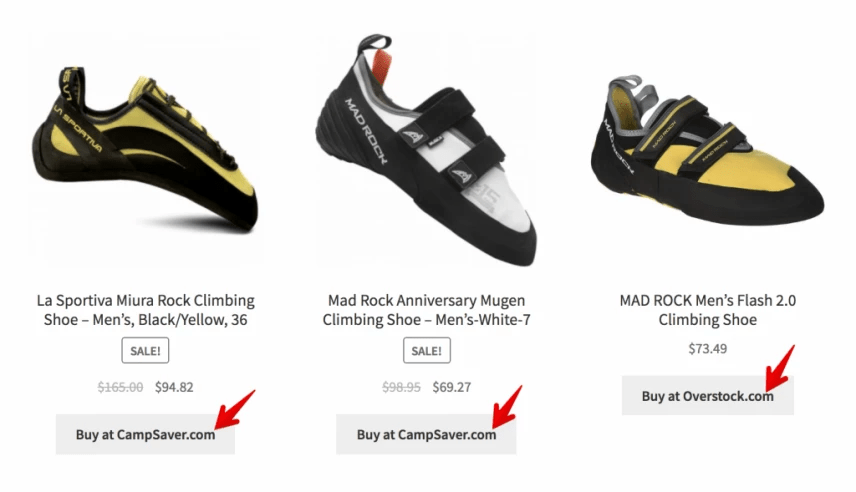
Add the merchant’s name to the buy button.
add_action( 'init', function () {
	add_action(
		'woocommerce_after_shop_loop_item',
		'mycode_display_more_details_button_to_external_with_merchant_name'
	);
} );

function mycode_display_more_details_button_to_external_with_merchant_name() {

	global $product;

	if ( 'external' !== $product->get_type() ) {
		return;
	}

	$url      = $product->get_product_url();
	$merchant = $product->get_attribute( 'pa_merchant' );
	$text     = $merchant ? sprintf( __( 'Buy at %s', 'mycode' ), $merchant ) : __( 'Buy Now', 'mycode' );
	$title    = sprintf( __( 'View more details about %s', 'mycode' ), $product->get_name() );
	$class    = sprintf( 'button add_to_cart_button product_type_%s', $product->get_type() );

	$format = '<a href="%1$s" title="%2$s" class="%3$s" target="_blank">%4$s</a>';

	printf( $format, esc_url( $url ), esc_attr( $title ), esc_attr( $class ), esc_html( $text ) );
}
Those are all for the WooCommerce Loop but if you want to make similar customizations on the Single Product Page, you would want to use the woocommerce_after_single_product_summary hook.
